
How to Move Your Office Phone System to the Cloud
How to Move Your Office Phone System to the Cloud
Migrating your phone system from traditional lines to a cloud-based VoIP solution sounds like a big, scary project. It is not. Thousands of professional firms make this switch every year, and the process is well-understood, predictable, and far less disruptive than most people expect.
The key is planning. If you know what to expect at each stage, the transition is smooth. If you wing it, you will hit avoidable problems. Here is the step-by-step process.
Step 1: Assess Your Current Setup
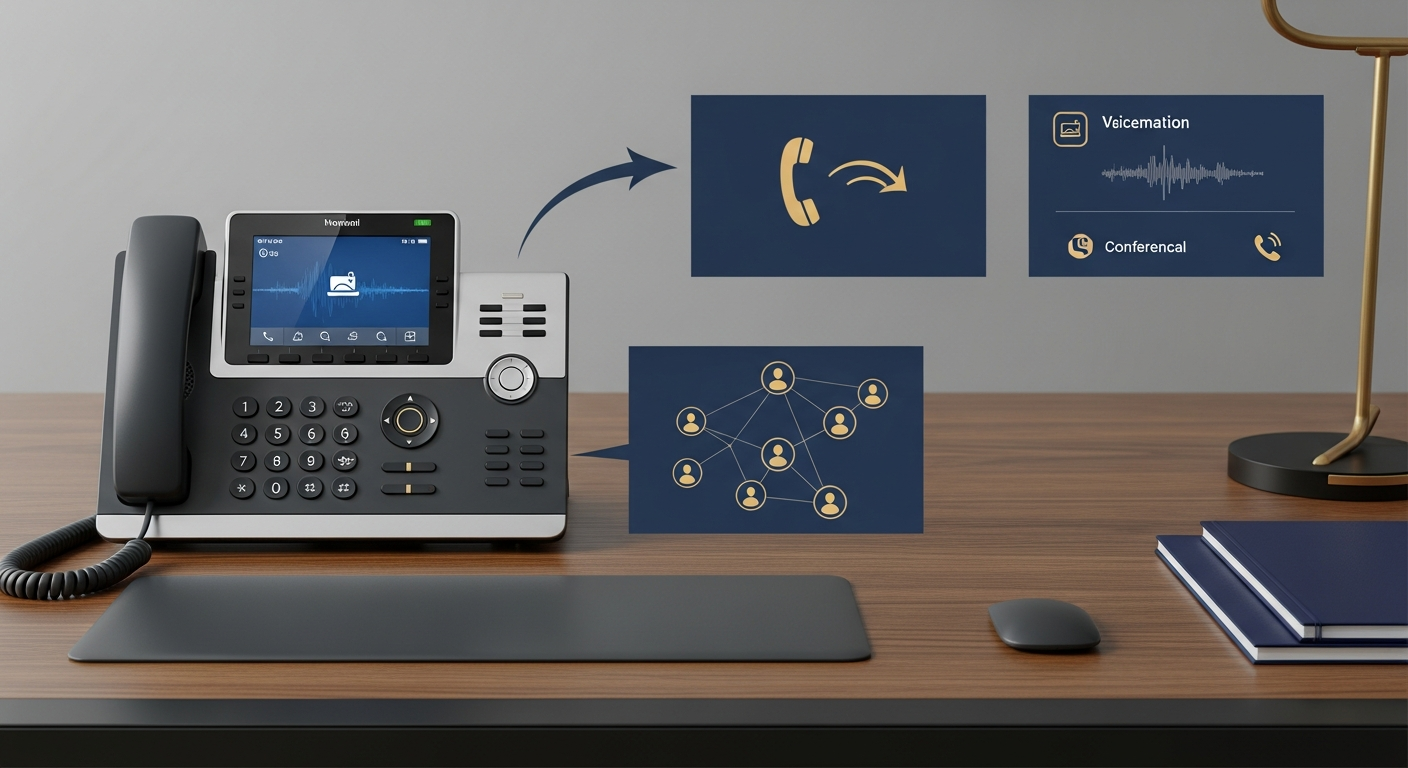
Before you can plan a migration, you need to understand what you are migrating from. Document your current phone system including how many phone lines you have, how many extensions are active, what features you currently use such as auto-attendant, voicemail, call recording, and conference calling, what your monthly phone bill looks like, and whether you have any existing contracts with your current provider and their termination terms.
Also note any pain points. What does your current system not do that you wish it did? This list becomes your requirements document for choosing a VoIP provider.
Step 2: Evaluate Your Internet Connection
VoIP runs over your internet connection, so your internet needs to be up to the task. Each simultaneous VoIP call requires approximately 100 Kbps of upload and download bandwidth. For a 10-person office where 5 people might be on calls at the same time, you need at least 500 Kbps of dedicated voice bandwidth.
Most modern business internet connections handle this easily. But run a speed test during your busiest hours to make sure. If your connection is borderline, consider upgrading before the migration or setting up a separate internet connection dedicated to voice traffic.
Also check your network equipment. Your router should support QoS (Quality of Service) settings that prioritize voice traffic over other internet usage. Without QoS, a large file download or video stream could degrade call quality.
Step 3: Choose a VoIP Provider
This is the most important decision in the process. Evaluate providers based on reliability with a guaranteed uptime of 99.99% or higher, call quality and the codecs they support, features that match your requirements, integration with your existing tools like CRM and practice management software, scalability to accommodate your growth, security features including encryption and compliance support, customer support quality and availability, and pricing including per-user costs and any hidden fees.
Request demos from at least two or three providers. Have your team use trial accounts to test call quality, mobile apps, and administrative features. For a comparison of VoIP versus what you are leaving behind, see our article on VoIP vs traditional phone systems for professional offices.
Step 4: Plan Your Number Porting
Your phone numbers are critical. Your clients know these numbers. They are on your business cards, your website, your directory listings, and your clients' contact lists. You are not giving them up.
Number porting is the process of transferring your existing phone numbers from your current provider to your new VoIP provider. It is a standard process, but it takes time, typically 2 to 4 weeks for standard business lines.
Start the porting process early. Your new VoIP provider will handle most of the paperwork, but you will need to provide a Letter of Authorization and your current phone bill showing the numbers to be ported.
Important: Do not cancel your old service until porting is complete. If you cancel first, you may lose your numbers permanently.
Step 5: Configure Your New System
While your numbers are being ported, configure your new VoIP system. This includes setting up user accounts and extensions, recording auto-attendant greetings, configuring call routing rules and ring groups, setting up voicemail boxes with personal greetings, configuring after-hours and holiday schedules, setting up call recording if applicable, integrating with your CRM or practice management software, and configuring mobile apps on team members' phones.
Take this opportunity to improve your call flow. Your old system probably had routing limitations that forced compromises. Your new system gives you a fresh start to design the call experience you actually want. For guidance on call routing, check out our article on how to set up call routing for multi-office firms.
Step 6: Set Up Hardware
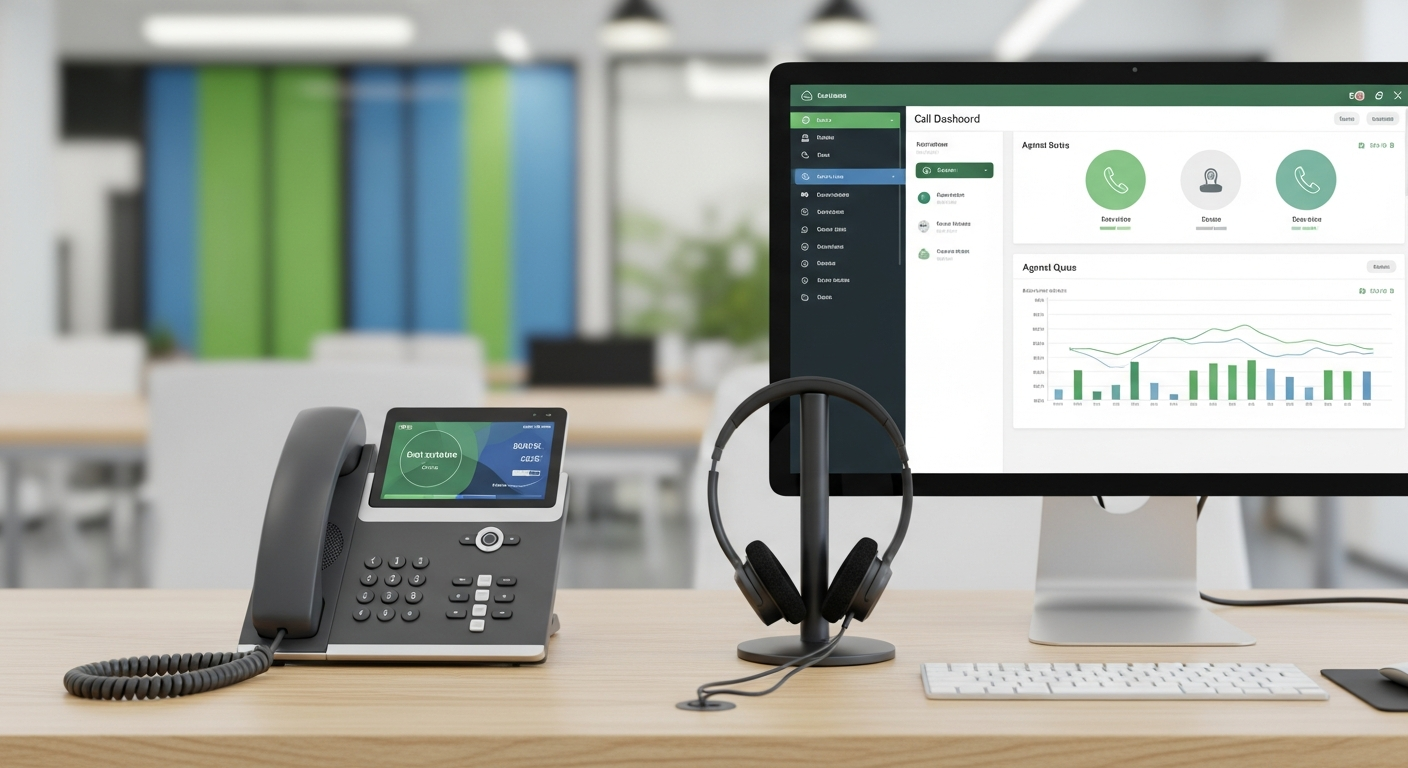
Depending on your approach, you may need new desk phones, headsets, or both. Many firms take this opportunity to move some or all of their team to softphones, which are software applications on computers and mobile devices that replace physical desk phones.
If you are using desk phones, most VoIP providers offer plug-and-play devices that auto-configure when connected to your network. Your provider can ship pre-configured phones that are ready to use out of the box.
If you are keeping any existing desk phones, check whether they are compatible with your new provider. Many newer SIP phones work with any VoIP provider, but older proprietary phones may not.
Step 7: Train Your Team
Do not skip this step. Even tech-savvy team members need training on a new phone system. Cover the basics including making and receiving calls, transferring calls both blind and warm transfers, using voicemail and accessing messages, using the mobile app, joining conference calls, and using presence and status indicators.
Schedule hands-on training sessions, not just a group demo. Let people practice with the system before it goes live. Create a quick-reference guide for common tasks.
Step 8: Run a Parallel Period
The safest approach is to run both systems simultaneously for a brief period. Your old system continues to receive calls while your new system is being tested. Once your numbers are ported and your team is comfortable with the new system, you cut over.
During the parallel period, test everything. Make internal calls, external calls, transfers, conference calls, and voicemail. Test from desk phones, mobile apps, and softphones. Have someone call from outside the office to test the auto-attendant and routing.
Step 9: Go Live
Once testing is complete and your numbers have been ported, you are ready to go live. Choose a low-volume day for the cutover, typically a Friday afternoon. This gives you the weekend to address any issues before the Monday rush.
On go-live day, verify that all numbers are ringing on the new system, test inbound and outbound calls, confirm that voicemail, auto-attendant, and routing are working, check that the mobile app is functioning for all users, and have your provider's support team on standby.
Step 10: Decommission the Old System
Once your new system has been running smoothly for a week or two, cancel your old phone service. Return any leased equipment. Document the completion of the migration.
Common Pitfalls to Avoid
Do not rush the number porting process. It takes as long as it takes, and trying to accelerate it often causes problems. Do not skip the network assessment. Poor call quality is almost always a network issue, not a VoIP issue. Do not forget to update your phone numbers in directories, websites, and marketing materials (though if you are porting your numbers, they will not change). Do not skimp on training. Undertrained staff will revert to workarounds that undermine the benefits of the new system.
The Result
After migration, you will have a modern phone system that costs less, does more, and scales with your firm. Most firms wonder why they waited so long.
For a comprehensive overview of phone system options, visit our guide on business phone systems for professional services.